The first step in map creation is to place a map onto roughly the right area of the globe. To navigate to your desired map centre, there are multiple options:
- Pan and zoom the map until you find your location.
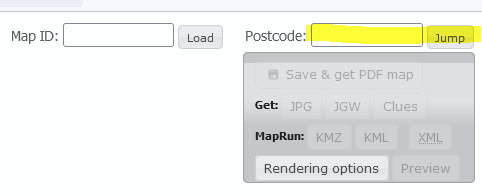
- Search for a UK postcode using the Postcode: search box at top-right.
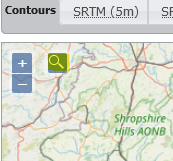
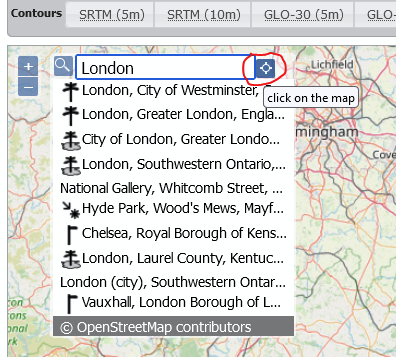
3. Search for a place name using the search button in the map (at top left). This uses Nominatim to search.
You can also perform a reverse-lookup – click the cross-hair button then click in the map to get the address at that point:
4. Drag and drop a .gpx file onto the map window – the view will automatically update to be centred on the .gpx track (more on this later).
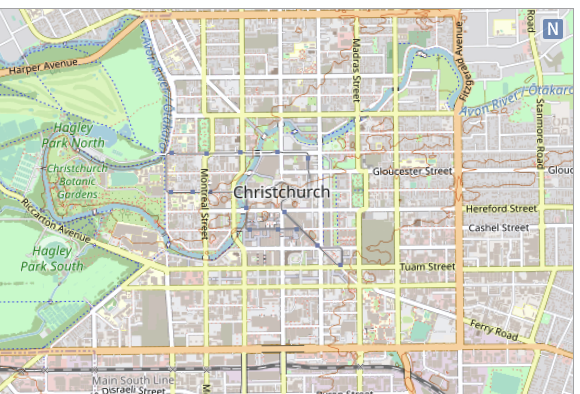
Click in the map window to place the map centre – you will need to be zoomed in sufficiently before this will work. Once placed, the map centre can be moved by dragging the central dark blue circle:

The map size and orientation can then be adjusted by changing the map scale, sheet size and sheet orientation using the buttons at the top of the page:

By default, the map view shows true North as up. When you place the map, the magnetic declination (how far from true North a compass points) is calculated and the map is auto-rotated so that Magnetic North is up.
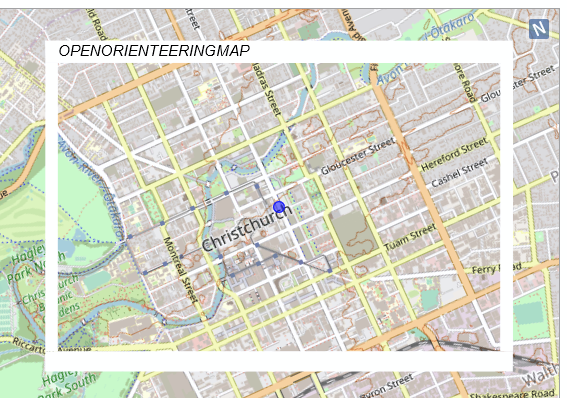
Note the angled “N” button at the top-right. Click this once to re-orientate to True North:
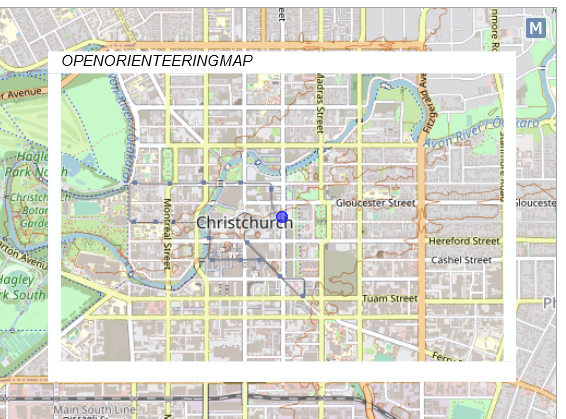
The button now shows an M” – click again to realign back to Magnetic North.
If you would like the map to be arbitrarily rotated, hold down the <Shift> and <Alt> keys and drag the map round to your preferred orientation:
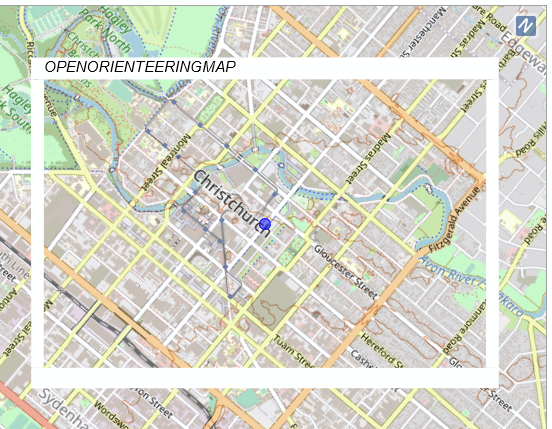
The map will always try to keep True North in the top 90 degree quadrant so if you rotate by more than 45 deg in either direction, the map orientation will automatically flip to keep N more or less up.
If you want to start again, click the “Delete Sheet” button and you can start the map location process from the start.