Once you have placed your map canvas, you can start adding controls and other features. Single-click within the map frame at the place you want to add a feature – this will bring up this dialog:
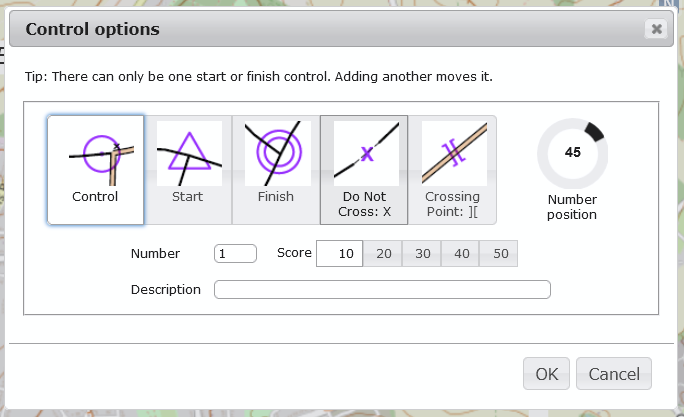
Choose whether you want a control or other feature using the illustrated list of options. For controls, you need to add a control number and a score, and a description is optional. For other feature types, these fields are disabled.
For controls, you can change the position of the control label using the “Number position” dial on the right hand side. For crossing points, this tool switches to altering the rotation of the crossing.
If you only place a start control then the finish is placed at the same location. If you want a separate finish you can add a finish control. There can be only 1 start and 1 finish so placing another will delete the first.
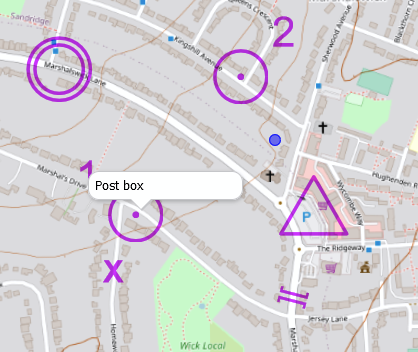
Hovering over a control will show its description.
Features can be moved by dragging them around in the map view.
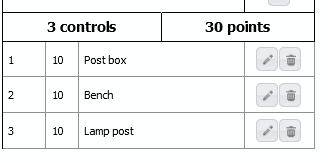
Features can be edited or deleted in two ways:
Double-click on the feature on the map;
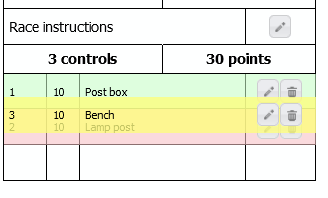
Click on the icons next to the control feature on the right-hand control description panel
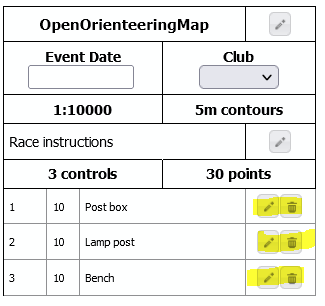
Controls can be reordered by dragging their position up or down in the control description area. This is particularly useful for linear courses: